


Selenium WebDriver is a powerful and versatile open-source browser automation library that allows you to automate web testing, reduce the risk of human error, and improve the overall quality of your web applications. One of the most popular use cases for Selenium WebDriver is to build automated end-to-end test suites for web applications, which occupy the top layer of the testing pyramid. These end-to-end tests are essential, as they provide a quick health check of the application from the end user's perspective and emulate the end user's interactions. They can also help you catch bugs early in the development process, saving you time and resources. Additionally, Selenium WebDriver supports multiple programming languages and integrates with a variety of testing frameworks, making it a flexible and powerful tool for web developers and quality assurance professionals alike.
In this tutorial, you'll learn about Selenium WebDriver and write your Selenium test with Java.
Prerequisites
Before proceeding, you need to download and install the following dependencies:
Setup
You'll use The Internet website's Login Page as the test object. This web page has a Username text field, a Password text field, and a Login button to simulate login functionality.
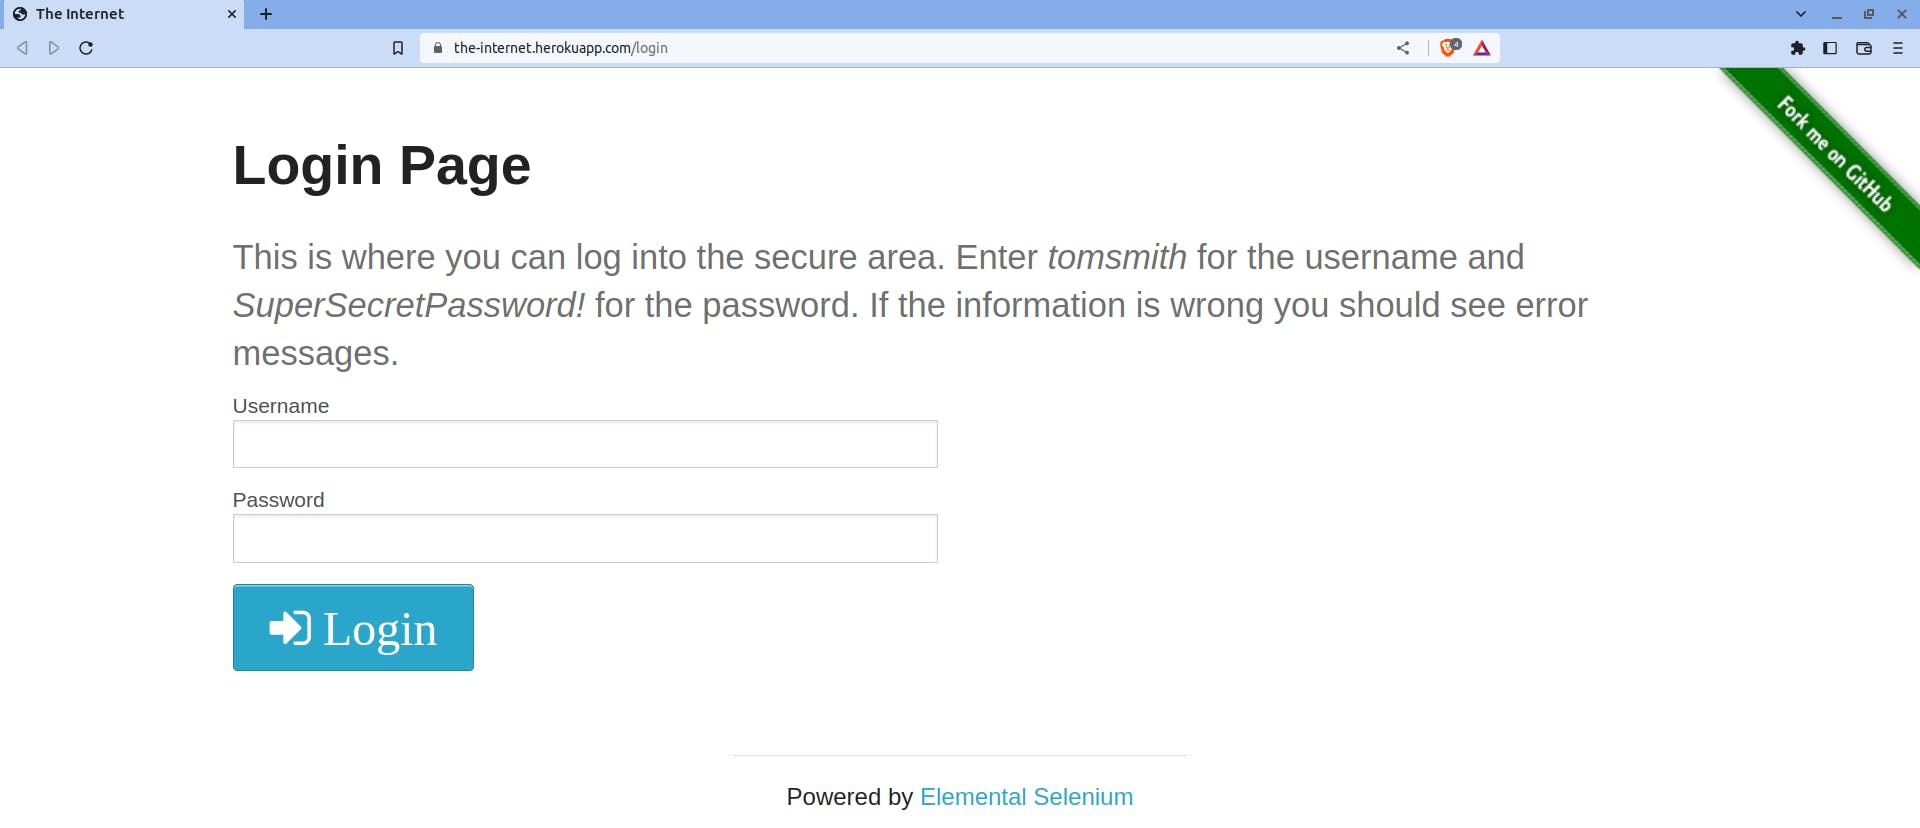
You'll implement two test cases—a successful login to the secure area and an unsuccessful login attempt.
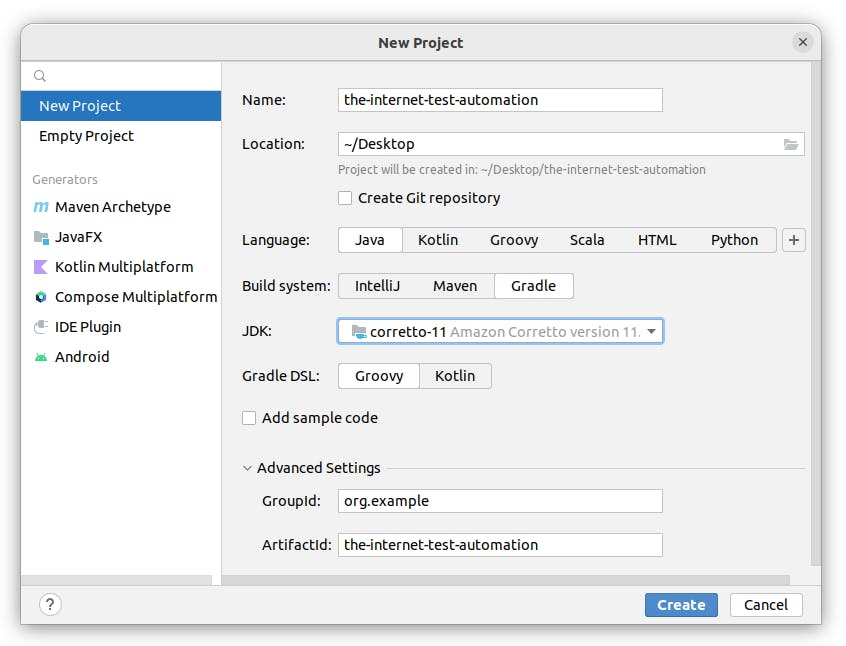
So, open IntelliJ IDEA and create a new gradle project. Name the project the-internet-test-automation.
Gradle is a build automation tool. In this tutorial, you're using Gradle because it facilitates adding and updating dependencies to your Java project. To get an overview of Gradle, check this Baeldung article.
Now, update your build.gradle file, located at the project root, to incorporate the following:
plugins {
    id 'java'
}

group 'org.example'
version '1.0-SNAPSHOT'

repositories {
    mavenCentral()
}

dependencies {
    implementation 'org.seleniumhq.selenium:selenium-java:4.8.0'
    implementation 'io.github.bonigarcia:webdrivermanager:5.3.2'
    testImplementation 'org.junit.jupiter:junit-jupiter-api:5.8.1'
    testRuntimeOnly 'org.junit.jupiter:junit-jupiter-engine:5.8.1'
}

test {
    useJUnitPlatform()
}
As you're done making the updates, reload the gradle changes.
To implement the Selenium tests, you're now ready to use the following:
Selenium WebDriver library of Java
WebDriverManager to automate the download, setup, and maintenance of browser drivers required by Selenium WebDriver, and
JUnit 5 as the testing framework
Implementing the Tests
End-to-end tests using Selenium WebDriver involve launching the browser, navigating to the web page, locating the web elements, performing actions on them, verifying the actual outcome with the expected, and closing the browser.
To achieve this, create a Java file LoginTest.java under the Test Sources Root (src/test/java). Next, paste the following code into the LoginTest.java file:
import io.github.bonigarcia.wdm.WebDriverManager;
import org.junit.jupiter.api.AfterAll;
import org.junit.jupiter.api.BeforeAll;
import org.junit.jupiter.api.Test;
import org.openqa.selenium.By;
import org.openqa.selenium.WebDriver;
import org.openqa.selenium.chrome.ChromeDriver;

import static org.junit.jupiter.api.Assertions.assertEquals;

public class LoginTest {
    private static WebDriver driver;

    @BeforeAll
    public static void launchBrowser() {
        WebDriverManager.chromedriver().setup();
        driver = new ChromeDriver();
    }

    @AfterAll
    public static void closeBrowser() {
        driver.quit();
    }

    @Test
    void testSuccessfulLogin() {
        // Navigates to The Internet website's Login Page web page
        driver.get("https://the-internet.herokuapp.com/login");

        // Locates the Username text field using id selector and types in "tomsmith"
        driver.findElement(By.id("username")).sendKeys("tomsmith");

        // Locates the Password text field using id selector and types in "SuperSecretPassword!"
        driver.findElement(By.id("password")).sendKeys("SuperSecretPassword!");

        // Locates the Login button using tag name selector and clicks on it
        driver.findElement(By.tagName("button")).click();

        // Locates the flash message using id selector and verifies its content
        assertEquals(
                "You logged into a secure area!",
                driver.findElement(By.id("flash")).getText().replace('×', ' ').trim());
    }

    @Test
    void testUnsuccessfulLogin() {
        // Navigates to The Internet website's Login Page web page
        driver.get("https://the-internet.herokuapp.com/login");

        // Locates the Username text field using id selector and types in "admin"
        driver.findElement(By.id("username")).sendKeys("admin");

        // Locates the Password text field using id selector and types in "SuperSecretPassword!"
        driver.findElement(By.id("password")).sendKeys("SuperSecretPassword!");

        // Locates the Login button using tag name selector and clicks on it
        driver.findElement(By.tagName("button")).click();

        // Locates the flash message using id selector and verifies its content
        assertEquals(
                "Your username is invalid!",
                driver.findElement(By.id("flash")).getText().replace('×', ' ').trim());
    }
}
The JUnit 5 annotation BeforeAll ensures that the method marked with it executes before all tests in the test class are run. Thus, the launchBrowser method, which instantiates a WebDriver instance, has this annotation.
Similarly, the JUnit 5 annotation AfterAll ensures that the method marked with it executes after all tests in the test class are run. Thus, the closeBrowser method, which closes the WebDriver session, has this annotation.
All the methods (testSuccessfulLogin and testUnsuccessfulLogin) marked with the JUnit 5 annotation Test are the test cases.
To navigate to a web page, the Selenium WebDriver API provides the get method that accepts a url.
Locating web elements can be hard, but Selenium WebDriver API provides several locating strategies to ease the process. Note that it is a good practice to use specific locators to grab the web elements so that your tests do not become flaky.
Selenium WebDriver API provides methods for interacting with the web elements.
Verifying the actual and the expected outcome is a piece of cake because of the assertions available within JUnit 5. Check this Baeldung article to know more about assertions.
Executing the Tests
Now, it's time to run your Selenium tests. Simply click the gutter icon next to your test class.
After your tests have completed execution, you'll see the following test result:
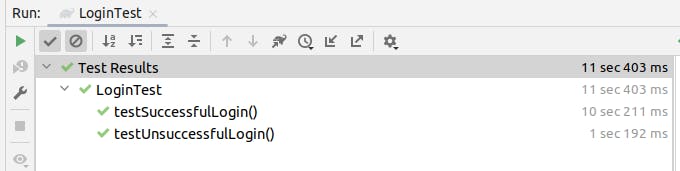
The green tick marks denote that your tests have passed.
Conclusion
Selenium WebDriver is a highly valued library among QA professionals for performing automated end-to-end tests. It is widely used for its ability to perform tests on various web browsers, and it supports multiple programming languages such as Java, Python, and Ruby, among others. In this tutorial, you learned about this library and how to use it to set up, implement, and run your tests.